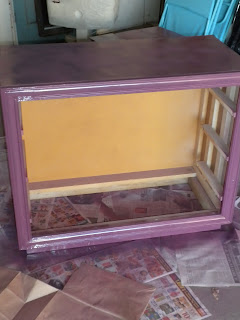
I have a little side table like this that is meant to be versatile with the change of a table cloth. I couldn't find any table cloths that I liked and apparently it is ok to charge like $30 for pure polyester and that wasn't going to cut it.

Enter zebra print fabric.

First step: cut a piece for the top.

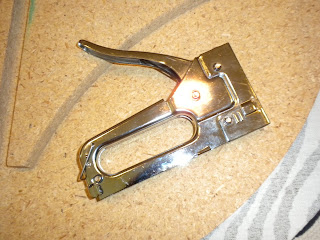
Second Step: Used the staple gun to secure the fabric to the top by pulling the fabric tight around the edges and stapling my way around the circle.
Step Three: Measure and cut panels for the side- this is where the no sewing comes in. I ironed the sides to create crisp panels and then affixed one side of adhesive velcro to the top.

Step Four: I affixed the other piece of velcro to the table top along the edge. Then I took the panel and watched the magic of velcro first hand.

Step Five: Check it out! The panels were coming along nicely but there were some small gaps between the fabric due to "on the fly" measuring but, aha! because it is velcro I was able to move the panels around until they lined up perfectly.

Step Six: You can barely see the velcro but that is ok because the awesome pink pom-pom trim will cover that up. A little tug here and an adjustment there and then it was secured with some thumb tacks I just had around the house. I want to do a nailhead trim but they were out and you know what these don't look too bad for now.

Et voila, fini! It's a little Pottery Barn Teen with the zebra and the pink pom pom but you know what that can be swapped out. As with any project it requires tweaking and now I can go back to the trim section to check out what they have.

Not bad for not having picked up a needle and thread or hot glue gun, huh?

 Here is a peek at some custom art that we created for a room. We purchased these 8x8 artist panel cubes at the craft store.
 Along with some metallic tissue, modge podge paste and foam brushes.
 I googled some maps of Africa and printed them out on regular printer paper. I placed the artists cubes face down on the tissue, traced the square outline and then cut the tissue to that form. I painted a layer of modge podge on to the cube and very carefully placed the square of tissue on top, adjusting the alignment until it fit and then added another layer of modge podge. Let that dry while I cut the continent of Africa out the maps, covered the back of the cut out with the glue mixture, centered them onto the cube and then finished it off with another layer of paste.
 It only took about 15-20 minutes for each layer of paste to dry and then I would paint on another to secure the map and create a sort of shellac. Modge Podge is available in two varieties, shiny and matte, we went with matte for this project. I think the shiny would have amplified all the little creases. To finish them out I painted to sides are charcoal grey, in hindsight I would have painted the sides first and then modged.
 Forgot to take the final-final photo of all of them lined up but here are two finished cubes.